
Imagine a balmy evening on your patio – soft light showcases your favorite plants, while the pathway remains safely and glare-free illuminated. Landscape architects often emphasize that it's this mix of functional orientation lighting and atmospheric garden ambiance that creates the coveted resort look. This effect is most elegantly achieved through professionally planned built-in LED lights.
However, outdoor lighting has a tough life with frost, constant rain, and the lawnmower. Those who only buy for looks here risk quickly having damaged systems in practice due to water ingress. So that your new spotlights for the garden and paths don't give up in the first winter, design and weather protection must go hand in hand. These 10 tips will show you how to successfully combine aesthetics and technical safety.
1. Light Color & Brightness: Why ‚Warm White‘ is the Secret to Coziness
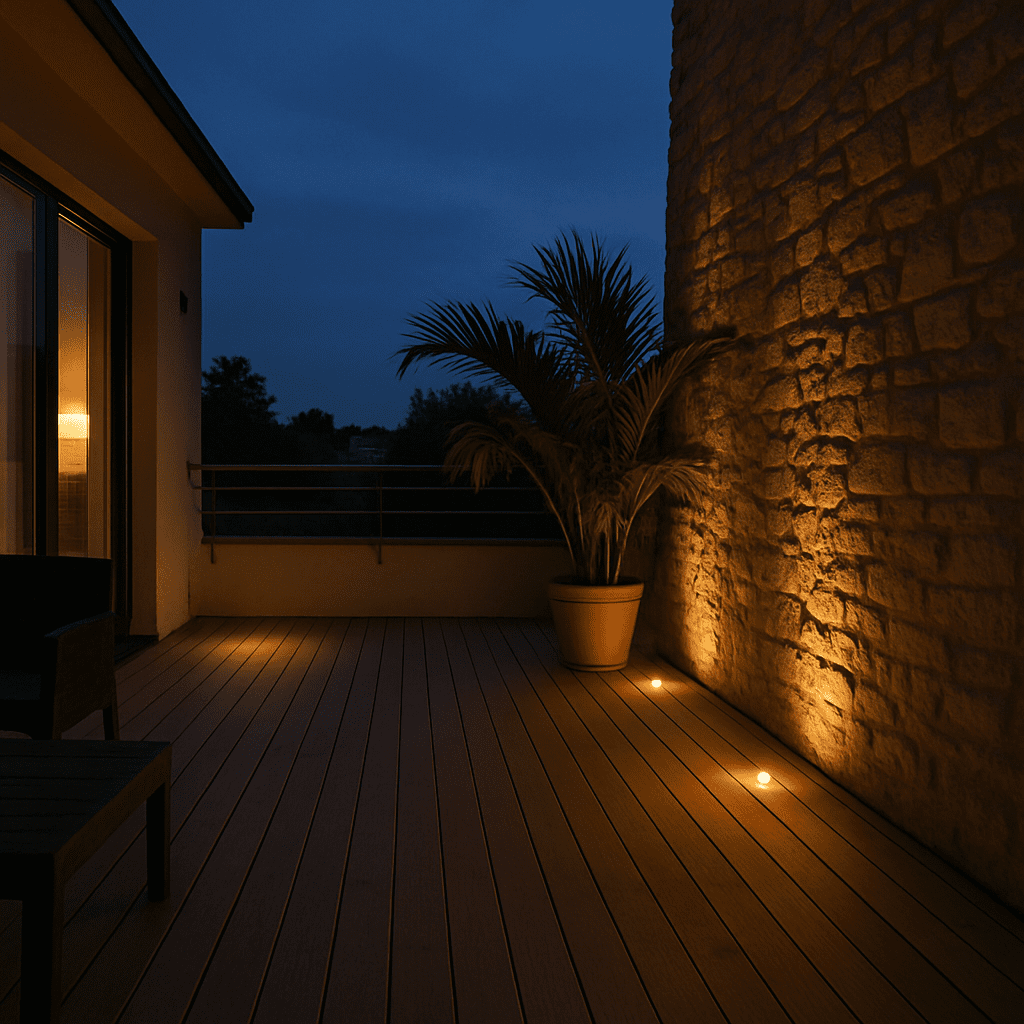
Imagine relaxing on your patio, but instead of coziness, there's an operating room atmosphere. This is usually due to the wrong Kelvin value. The ideal light color, warm white, for a garden ambiance is between 2700 and 3000 Kelvin, as it acts like gentle candlelight and doesn't glare uncomfortably.
Besides the color, lumens (brightness) determine the actual effect. For small paths, 100 to 200 lumens per spotlight are often sufficient for safe orientation. However, so that this play of light doesn't fail immediately with the first summer rain, we'll next look at the IP protection class.
2. The IP rating: How your spotlights defy rain and puddles
After a heavy summer rain, patios and garden paths often turn into small lakes. That's precisely why the correct IP protection rating for outdoor lighting is crucial. Many mistakenly opt for IP44 models, which are splash-proof but quickly fail in wet autumn soil.
If technology is sitting in a puddle, it's like an involuntary bath. Therefore, it is absolutely essential to rely on waterproof IP67 ground-recessed spotlights in the floor area, as these can safely withstand even brief submersion. Once the lights are protected from moisture, the next important question arises regarding the power supply: 12V or 230V?
3. 12V vs. 230V: The Choice Between DIY Safety and Maximum Power
At Garden Lighting 12V or 230V Comparison Safety comes first. A 12V low-voltage system forgives mistakes in everyday gardening: Even if a digging dog or playing children damage a cable, there is no danger to life. You just need to Low-voltage transformer for garden spotlights interpose, which safely throttles the high mains voltage.
Your decision will largely depend on your craftsmanship:
- 12V (Low Voltage): Maximum security and easy plug-and-play self-assembly for DIY enthusiasts.
- 230V (High Voltage): Strong performance for long distances, installation mandatory by an electrician.
Regardless of the voltage, every technique requires space in the ground, which leads us directly to the correct installation depth.
4. Installation Depth & Space Requirements: Plan below the surface
Before you new LED Recessed Garden Lights buy, check the crawl space under your floorboards. This installation depth is often completely underestimated. Measure the distance to the foundation precisely and pay special attention to obstructing joists of the subfloor.
Calculate when Installation depth for ground spotlights terrace be sure to include a few extra centimeters for the power cables to avoid damaging kinks under the housing. If there is enough physical space, the next planning challenge follows directly: Where does the unavoidable rainwater actually drain?
5. Install drainage: So your lamps won't be standing in the ‚bathroom‘
Even the best IP protection rating will eventually succumb to permanent waterlogging. If rainwater cannot drain away, your equipment is literally standing in a bathtub, which extremely increases the water pressure on the seals and provokes corrosion. By implementing a Install drainage for in-ground luminaires, prevent this critical backup.
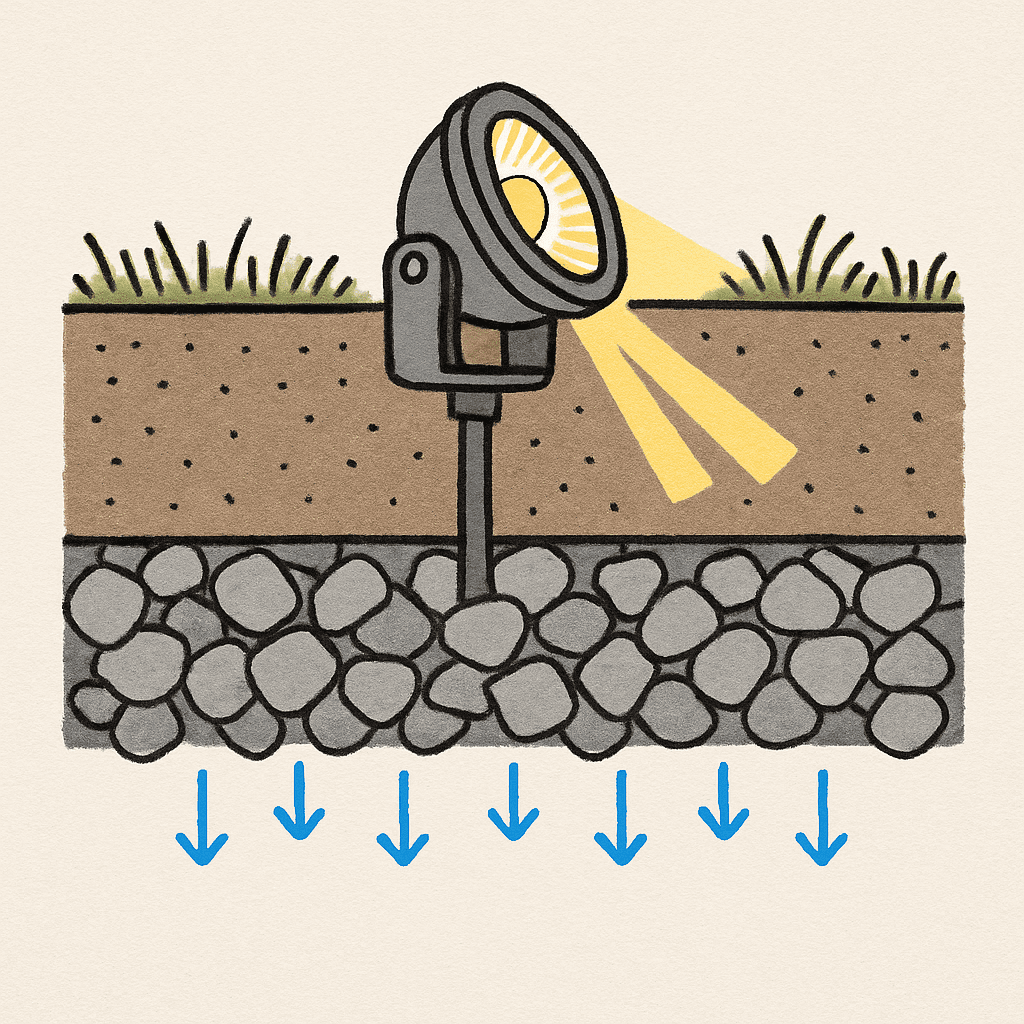
Dig an additional 20 centimeters below the housing and fill the cavity with gravel. This simple gravel bed drains moisture and guarantees Extended outdoor lighting. Once the technology is safely in place and dry, the next optical fine-tuning follows directly: How wide should the light beam actually spread?
6. Beam Angle & Light Cone: Setting Accents Instead of Floodlighting
After secure ground installation, the beam angle (the width of the light cone) determines the atmosphere. Absolutely avoid blinding floodlights on walkways. Instead, use narrow 30-degree angles to specifically highlight striking trees – this is the ideal beam angle for outdoor accent lighting.
If, on the other hand, you are planning harmonious, indirect terrace lighting, wider angles of over 90 degrees will gently bathe your stone walls in light. So that this beautiful glow is not soon marred by rust, we must now turn our attention to the suitable housing material.
7. Material Selection: Stainless Steel vs. Aluminum in the Fight Against Weather
A brief comparison of durable materials for outdoor lighting shows: While classic V2A steel is often sufficient for a normal front garden, extremely robust V4A stainless steel permanently protects your investment from corrosion, even in aggressive road salt or chlorine-containing pool water.
If you're planning your lighting directly on paths or patios, walk-on stainless steel recessed spotlights are an absolute must, as they can safely withstand the daily weight of pedestrians and wheelbarrows. Once this weatherproof and durable hardware is finally installed in the ground, all that's missing is the technical fine-tuning for the perfect evening atmosphere through smart lighting control.
8. Smart Home & Dimmability: Custom Lighting Control
Only flexible light intensity creates the perfect outdoor ambiance. By making your LED outdoor lights dimmable, you can transform bright functional light into soft twilight with a swipe of your smartphone for a relaxing evening on the patio.
A modern smart home control for garden lighting offers additional clever security through automated schedules. Linked to your home system via common wireless protocols like Wi-Fi, the lighting activates automatically at dusk. This deters burglars and directly leads to the most important everyday function: safe, glare-free orientation lighting for your garden paths.
9. Safety Every Step of the Way: Glare-Free Orientation Light
Dark corners in the garden layout are real sources of danger. Set LED Recessed Garden Lights- grow along the edges of paths or steps, can be Avoid stumbling hazards with orientation lights. A soft glow of a few lumens is perfectly sufficient here to make the contours of the steps clearly visible without unpleasantly dazzling you during your walk.
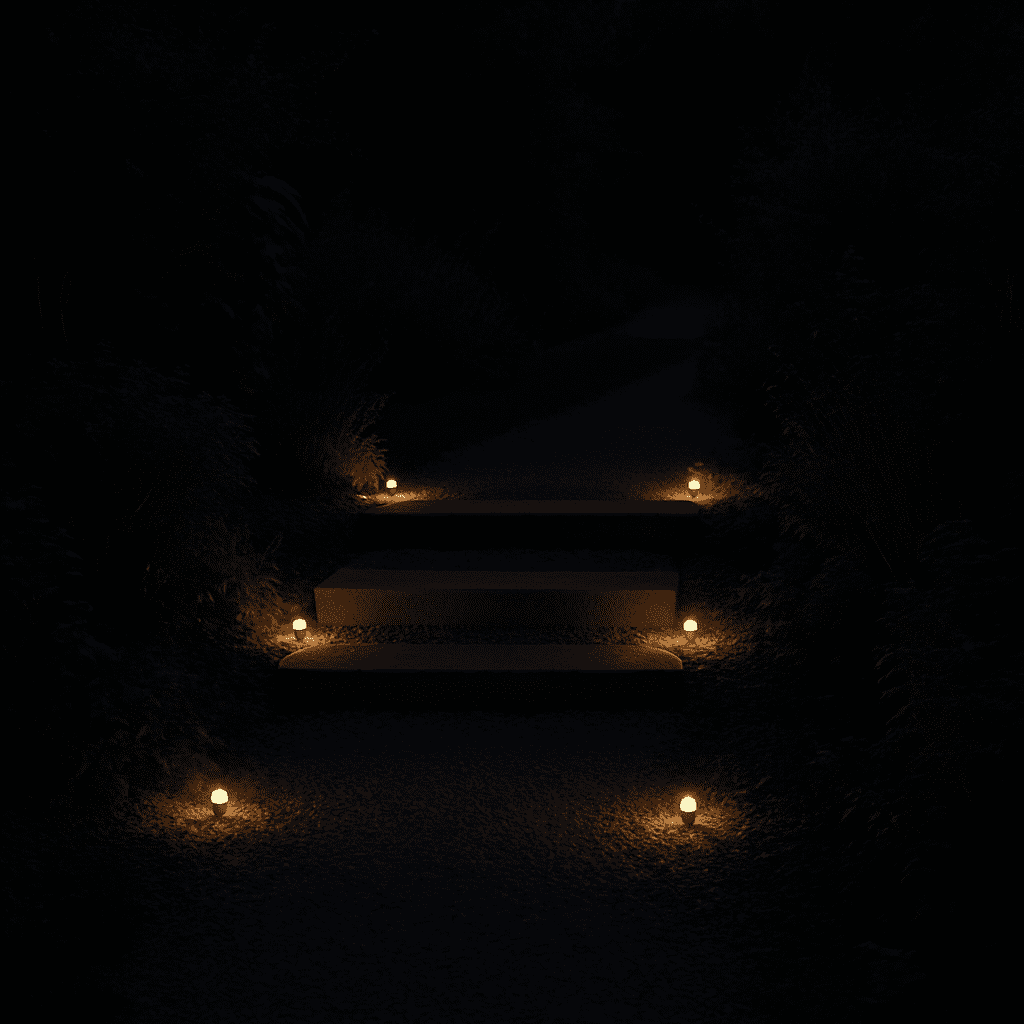
So that these subtle light points can fulfill their important protective function, the lenses must not be covered by damp leaves or mud. A clear lighting surface guarantees continuous safety, which leads us directly to essential maintenance for a decade of lighting life.
10. Maintenance & Care: How to Keep the Shine for Years
Even the best technology needs a little attention. Regularly remove damp leaves from the glass. This not only ensures maximum brightness but also prevents harmful heat buildup under the cover.
An annual maintenance interval after winter is the secret to long-lasting outdoor lighting. During this time, check the rubber seals for fine cracks. This simple maintenance of ground-recessed spotlights prevents the ingress of meltwater and protects the sensitive technology, which leads us directly to your roadmap for a garden highlight: The next steps.
Your Roadmap to the Garden Highlight: The Next Steps
You now know that outdoor lighting combines a beautiful atmosphere with robust longevity. Go into your garden this evening: which areas are currently dark spots where light could create a new space? With these tips, you can transform these zones safely and effectively:
- Measure Identify dark areas and calculate cable lengths.
- Choose IP67: Choose absolutely waterproof luminaires for ground installation.
- Drainage planning: Lay gravel beds to keep the electronics dry.
- Secure installation: Use 12V systems or hire a professional for 230V connections.
- Enjoy Relax in your newly illuminated outdoor oasis.
It's best to start with your patio to see immediate results. You'll know you've achieved your goal when you want to spend every evening outdoors and enjoy an ambiance that can withstand any season.
