
One's own Pool in the garden is the absolute epitome of summer, relaxation, and fun for the whole family for many. But what happens when your own property isn't flat as a pancake? Anyone who has ever tried to inflate a paddling pool on a sloping lawn knows the problem: the water collects on one side, while the other side remains almost dry. With a large above-ground pool or frame pool, this can not only look unsightly but become extremely dangerous.
This comprehensive guide offers the right answers for this very problem. We present the topic to you Setting up a pool on a slope: 5 solutions, with which you can realize your dream of a home swimming pool safely and professionally.

The underestimated danger: Why a level surface is an absolute must
Before we get to the specific solutions, we need to clarify a question that is frequently asked in forums and garden centers: How much slope can an above-ground pool tolerate?
The honest answer from experts is: Almost none! A tolerance of a maximum of 1 to 2 percent (i.e., 1 to 2 centimeters height difference per meter) is the absolute maximum. Even slight inclines create enormous forces. The Static load with one-sided water pressure is massively underestimated by many garden owners. Water always seeks an absolutely level plane. If the pool is crooked, the entire weight (often several tons) presses against the lower side wall. This leads to the steel pipes bending, the pool liner tearing, or in the worst-case scenario, the pool collapsing completely and sending a tidal wave through the garden.
To Stabilizing an above-ground pool on a sloped lawn To be able to, you absolutely must level the ground. There is no shortcut if you care about your safety and the longevity of the pool.
Preparation: Measure and plan the site
Before the excavator rolls in or the spade is swung, you must Prepare the ground for a frame pool. The first step is to accurately measure the slope.
- Choose location: Choose the sunniest spot in your garden, ideally away from large trees (to avoid leaves in the water).
- Measure and mark: Generously mark out the pool contours plus about 50 to 100 centimeters of working space.
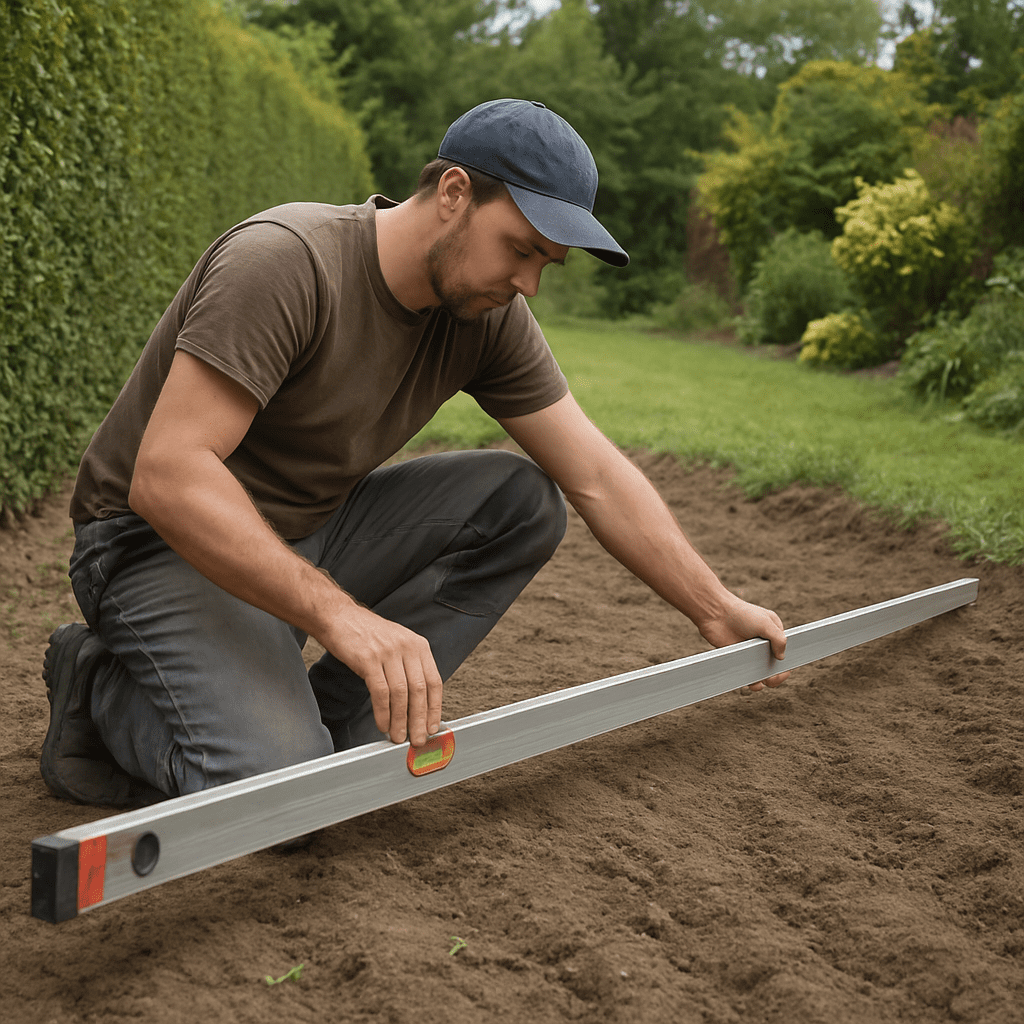
- Determine the slope: The Leveling with a laser or a straightedge is essential here. A line laser is ideal for large areas. Alternatively, place a long, perfectly straight leveling board (at least 2 meters long) on the floor and put a spirit level on it. Now measure the distance between the bottom of the leveling board and the ground. This way, you know exactly how many centimeters you need to compensate.
Setting up a pool on a slope: 5 detailed solutions
Depending on the steepness of your garden's slope and your budget, different approaches are possible. Here are the 5 best and safest solutions for Level out uneven ground in the garden to be able.
Solution 1: The Golden Rule – Strip the soil (Don't pile it up!)
The by far most common and often also cheapest method to safely set up a pool is by removing earth.
Important: A common beginner mistake is to fill the lower side with loose soil. Once it gets wet and the weight of the pool rests on it, the filled-in soil will inevitably settle. You must always orient yourself at the lowest point of the ground and remove soil from the higher side.
Here's how to proceed:
- Mark: Mark out the area generously.
- Remove sod and compact soil: Dig up the lawn with a spade and lift the soil on the higher side until you reach the level of the lowest point.
- Control Always check again with the straightedge.
- Compress Once the area is level, you need to compact the soil. Use a vibratory plate for this (you can rent them cheaply at hardware stores). This is the only way to prevent the pool from sinking later.
This method is sweaty, but costs hardly any material and is extremely safe.
Solution 2: A solid foundation of gravel, sand, or concrete
If you are planning for the long term and might even want to leave the pool up over the winter, you should consider a Building a foundation for a pool on a slope. Various materials are available for this.
Many garden owners ask themselves the question about the best material. A Gravel Bed vs. Concrete Slab Cost Comparison helps with the decision:
- The concrete slab She is the absolute gold standard. Completely level, extremely load-bearing, and indestructible. However, the costs here are around 60 to 120 euros per square meter (including formwork, reinforcement, and concrete). On slopes, the concrete also has to be elaborately supported.
- The Sand Bed A pure sand bed is temptingly inexpensive (approx. 10 to 20 Euros per square meter), but it carries the risk that the sand will be washed away by heavy rain or splashed pool water.
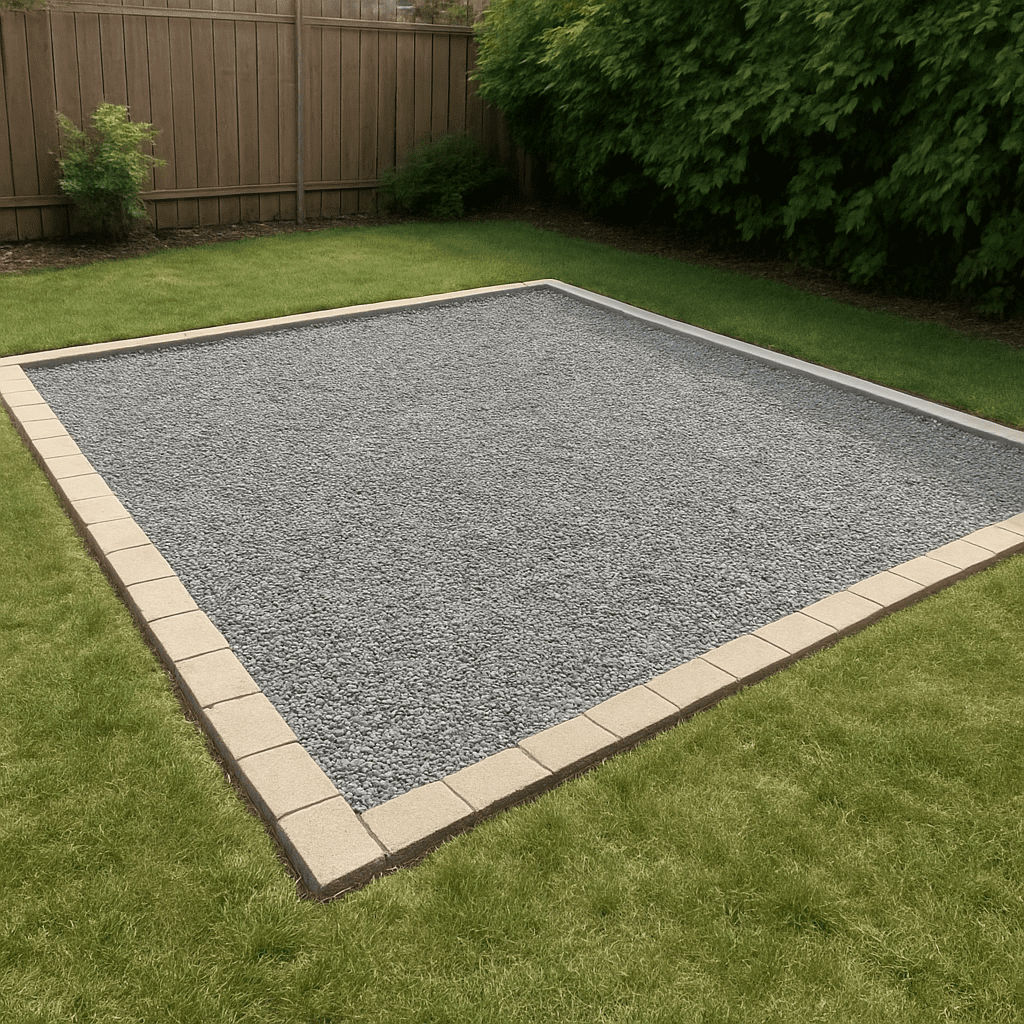
- The compromise – gravel and grit: An excellent alternative is to Place pool on gravel or crushed stone. To do this, excavate the ground about 15-20 cm deep, fill it with gravel, compact it with a vibratory plate, and then screed the top 3-5 cm extremely straight with fine precious chippings. This ensures perfect drainage and high load-bearing capacity.
Solution 3: The Wooden Deck – The Elegant Platform
Especially on very steep slopes, simply excavating reaches its limits. In such cases, a Wooden deck as a pool platform on a slope an architecturally beautiful and practical solution.
Instead of moving tons of soil, build a freestanding deck. This is the perfect method when you have a Leveling a slope for a pool without concrete to want to realize.
- Foundations Instead of a massive concrete foundation, you can use screw piles or point foundations. These are screwed or dug deep into the slope.
- Substructure A massive beam construction will be built on top of this. Warning: The wood must bear the enormous weight of the water! For a 10,000-liter pool, we are talking about 10 tons. Ideally, consult a carpenter or structural engineer for this.
- Advantages: You not only get a level surface for the pool, but also a comfortable area for sun loungers and a clean entry into the cool water at the same time.
Solution 4: Build a professional retaining wall
If you want to permanently terrace the terrain, then Setting up a pool on a slope to enable, a retaining wall is often unavoidable.
A Retaining wall for a sloped garden plot safely intercepts the excavated or dumped earth.
- L-shaped retaining walls: These massive concrete elements are placed into the ground at the sloping edge and secured with a concrete foundation. They safely absorb the pressure from the earth and the pool located above.
- Gabions Gabions are an aesthetically pleasing alternative that allows water to drain well and provides excellent stability.
- Heavyweight wall Natural stones that are easily stacked dry, slightly inclined into the slope.
Through the wall, you can create two levels in your garden. You can then set up the pool on the resulting flat „terrace“ without any problems.
Solution 5: Thermal insulation and perfect subfloor with Styrodur
Regardless of whether you're excavating the ground or building a gravel foundation, the question arises about the final layer directly beneath the pool liner. This is where high-tech materials come into play.
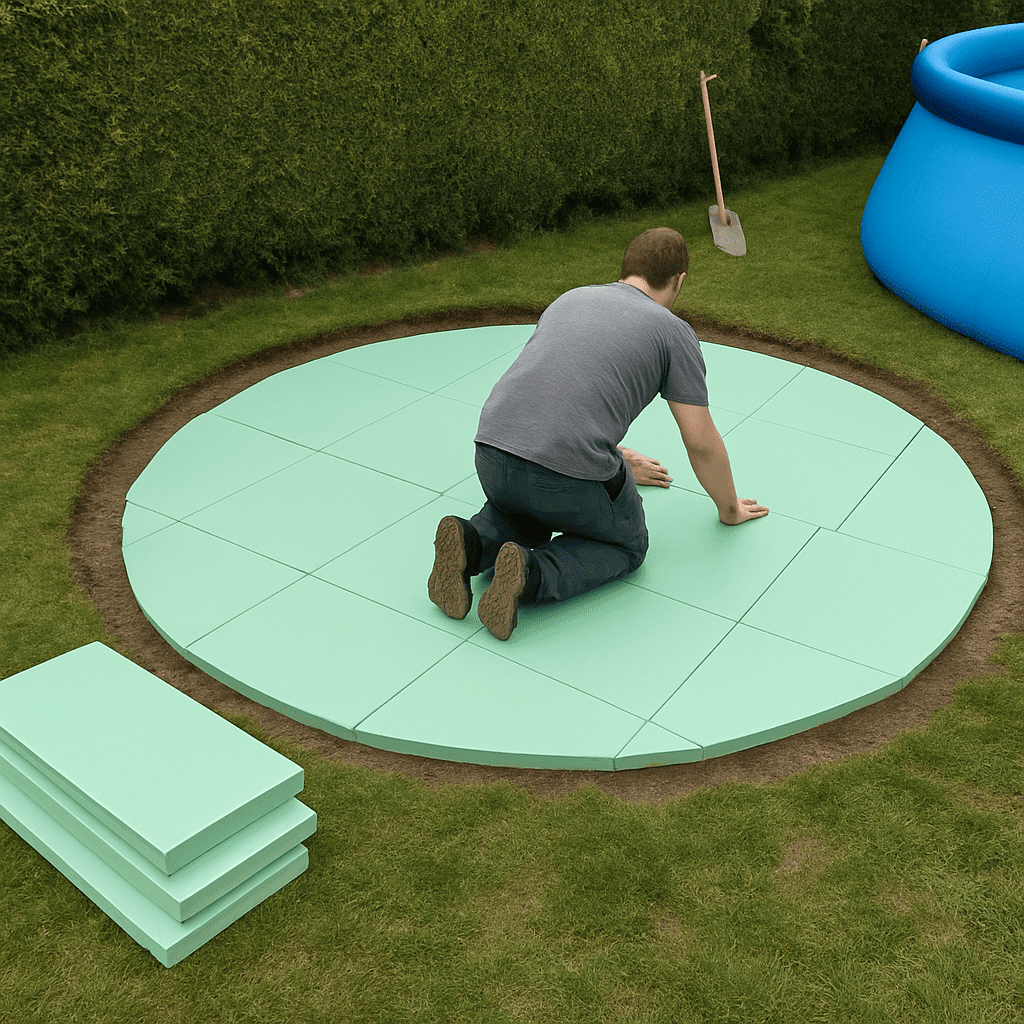
Pressure-resistant Styrodur panels as a pool base (XPS boards) offer several gigantic advantages:
- Fine adjustment: You smooth out the last, minimal imperfections.
- Insulation The cold from the ground is shielded, which keeps the pool water noticeably warmer.
- Foil protection: Sharp stones or small roots can no longer pierce the sensitive pool liner.
- Weight distribution By laying the panels in bonding, they distribute the pressure of the water evenly and guarantee a better Stability on loose ground.
Tip: Tape the joints of the XPS boards with strong fabric tape (duct tape) so they don't drift apart when filling the pool. Finally, place a special pool fleece over the boards to prevent plasticizer migration between the pool liner and the insulation board.
More useful „pool setup tips“ for a smooth process
To successfully complete the project, in addition to leveling, you should also consider the following Pool installation tips attention
- Remove roots and stones: Regardless of the method you choose, the underlying ground must be completely free of sharp edges. Persistent weeds (like bamboo or thistles) should also be removed thoroughly, as they can otherwise bore through the liner from below.
- Support plates Haben Sie einen Frame-Pool (mit Stahlrohrrahmen)? Die seitlichen Stützfüße üben einen extremen punktuellen Druck auf den Boden aus. Legen Sie unter jeden Fuß eine kleine Gehwegplatte oder dicke Holzbohle, die bündig in den Boden eingelassen ist. So sinken die Stützen bei Regen nicht in den Schlamm ein.
- Sonneneinstrahlung nutzen: Achten Sie bei der Standortwahl am Hang darauf, wo morgens und nachmittags die Sonne steht. Ein Pool, der den ganzen Tag im Schatten einer Hangmauer liegt, wird schnell kühl und ungemütlich.
- Faltenfrei aufbauen: Lassen Sie erst etwa 2-3 Zentimeter warmes Wasser in den Pool fließen. Streichen Sie dann alle Falten am Boden von der Mitte nach außen vorsichtig glatt. Sobald mehr Wasser im Becken ist, lässt sich die Folie nicht mehr bewegen!
Conclusion
Einen Pool an einem Hang oder auf einem unebenen Rasen aufzubauen, erfordert zunächst etwas Planung und Muskelschmalz. Doch die Mühe lohnt sich! Ignorieren Sie niemals die Kraft des Wassers. Ob Sie sich nun dafür entscheiden, die Grasnarbe abtragen und Boden verdichten, ein solides Holzdeck zu konstruieren oder eine fachgerechte Stützmauer hochzuziehen – entscheidend ist am Ende eine absolut waagerechte und feste Basis.
Die Formel Setting up a pool on a slope: 5 solutions gibt Ihnen das nötige Werkzeug an die Hand, um die baulichen Herausforderungen in Ihrem Garten souverän zu meistern. Nehmen Sie sich für die Vorbereitung und die korrekte Begradigung ausreichend Zeit. Wenn das Fundament erst einmal im sprichwörtlichen Lot ist, können Sie sich entspannt zurücklehnen und unzählige sichere, erfrischende Badestunden im eigenen Garten genießen.
