
A mild summer evening, a cool drink in hand, and your gaze wandering over your own garden – for many, the home terrace is the absolute favorite spot. But the joy can quickly be dampened if, after the first heavy downpour, water collects in large puddles on the decking or tiles. To prevent exactly this scenario, careful planning is essential. Those who can correctly calculate the slope of the terrace from the outset will save themselves a lot of trouble, time, and high renovation costs later on.
In this comprehensive guide, you'll learn everything you need to know about correctly slanting your patio. We'll answer the most important questions about materials and construction methods, and show you step-by-step how to ensure optimal drainage.
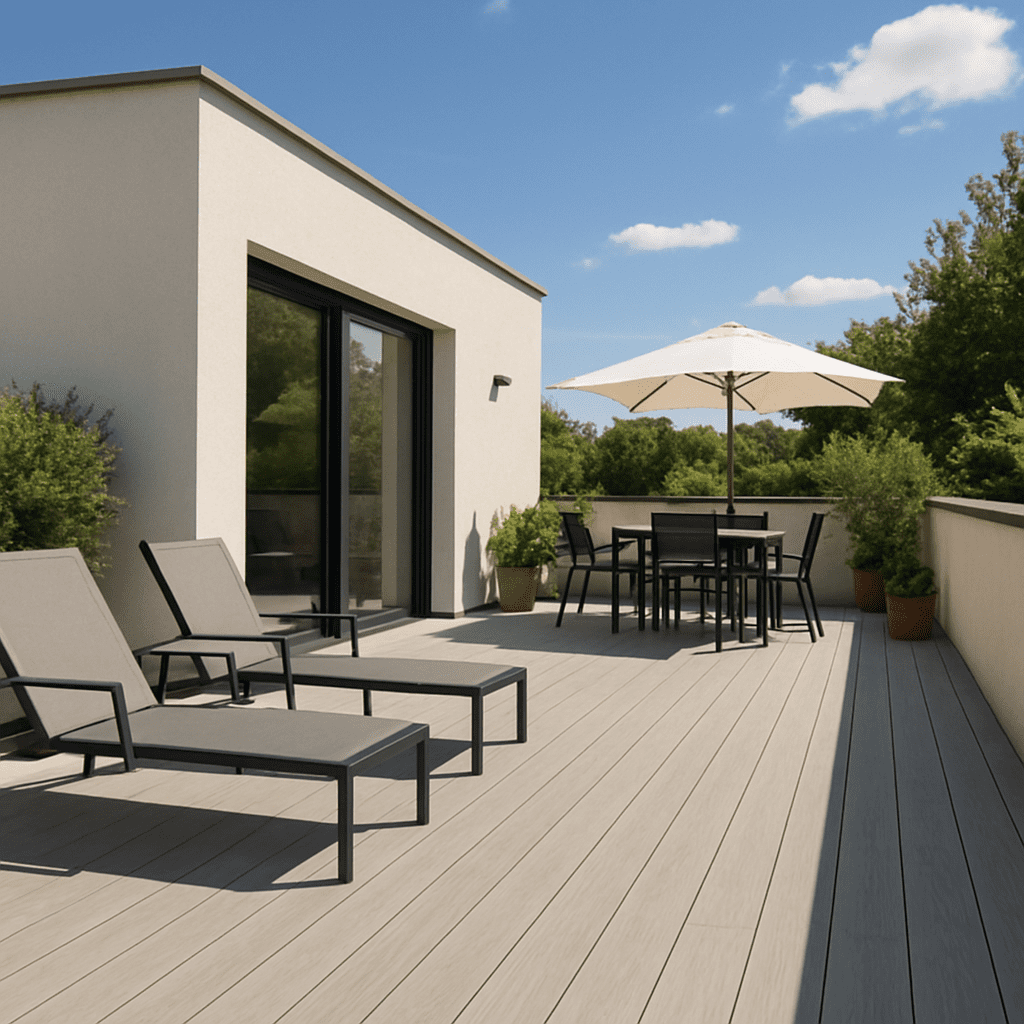
Why is a slope necessary for a patio at all?
Some DIYers might wonder if a completely flat surface wouldn't be much easier to build. The answer is: yes, but it leads to enormous problems in the long run. Outdoor surfaces are permanently exposed to the elements.
A well-planned slope fulfills several vital functions for the building structure:
- Building protection: The golden and absolutely most important rule when building a patio is: slope it away from the house wall! If rainwater flows towards the masonry, it can penetrate the plaster, basement, or insulation. Damp walls and mold formation in the house are often the fatal consequences of an incorrectly sloped patio.
- Material Lifespan Water that doesn't drain is the biggest enemy of any flooring. You must absolutely avoid waterlogging on the terrace. Wood begins to rot, becomes slippery due to algae formation, and loses its load-bearing capacity.
- Prevention of winter damage: Water expands when it freezes. If water remains in the joints or pores of stones, it can lead to spalling at sub-zero temperatures. You can prevent costly frost damage through proper drainage by quickly diverting the water before it can freeze.
Terraces need a slope of 1-2%
This is probably the most common question that building owners ask themselves. The short answer is: As a general rule, one assumes a standard value of 1.5 to 2 percent This means that the terrace slopes by 1.5 to 2 centimeters per meter. This value is a proven compromise: it is sufficient to allow water to drain by gravity, but it is hardly noticeable when walking, sitting, or placing furniture.
However, the question cannot always be answered so generally, as the material and construction play a crucial role.
Minimum slope for wooden decks vs. stone pavers
Depending on the surface texture, the water behaves differently. It's worth taking a closer look at the minimum slope for wooden decks versus stone slabs:
- Stone slabs, tiles, and paving: For smooth, sealed surfaces like ceramic tile, natural stone, or concrete pavers, 1.5 to 2 percent is usually more than sufficient. The water beads up well and quickly finds its way down.
- Wood and WPC Terraces It gets a bit more complex here. Wood works and has a natural roughness. Especially with grooved deck boards, water can collect in the grooves. A full 2 percent slope is often recommended here. Important: The slope must run strictly lengthwise along the grooves! If you lay the floorboards across the slope, the grooves will act like small dams, rendering the slope useless.
Specifications according to DIN 18531 Balconies and terraces
For those who want to be completely sure and work according to official construction standards, they follow the DIN standard. DIN 18531 Balconies and Terraces (Waterproofing of roofs as well as balconies, loggias, and external corridors) generally recommends a slope of at least 1.5 percent for the waterproofing layer in the case of usable outdoor areas. This ensures that no puddles form on the water-bearing layer, even with slight deflections of the material or settlement in the substrate.
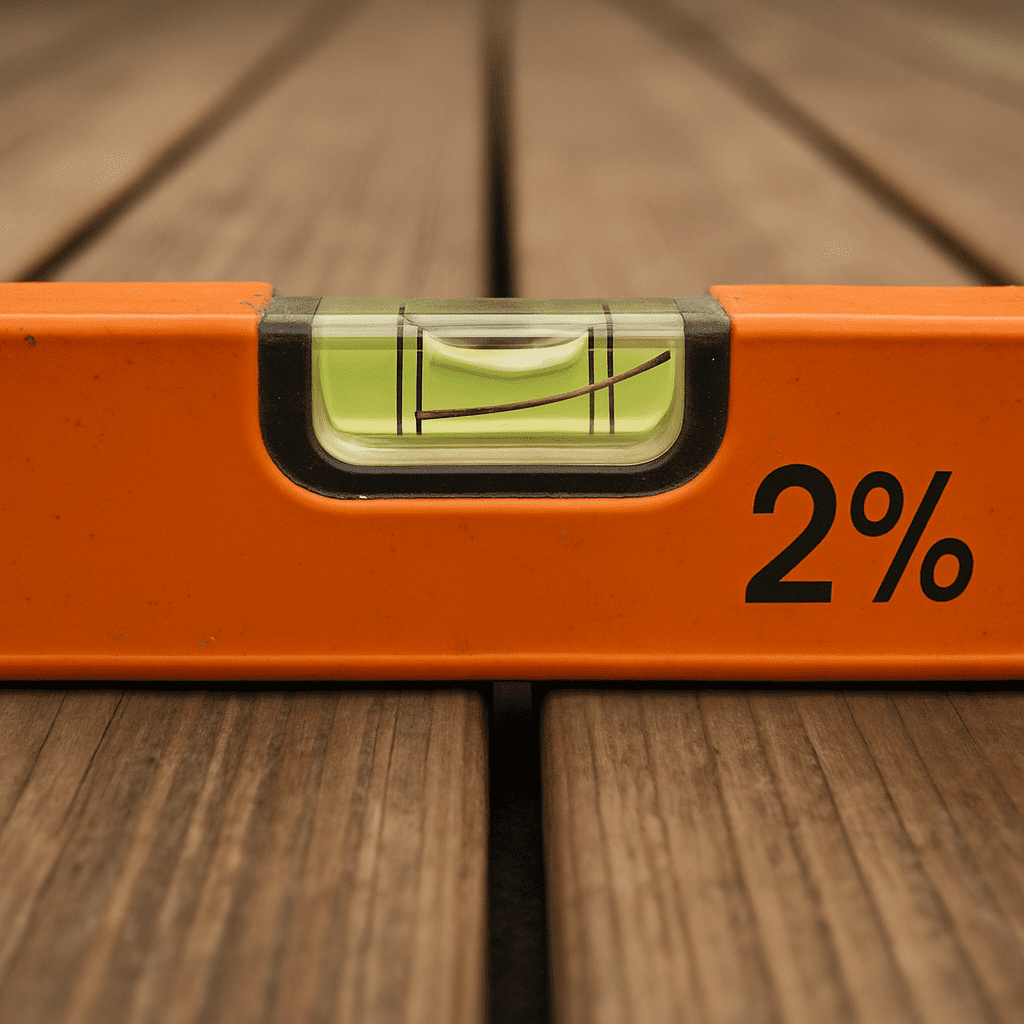
Theory: Correctly calculating the slope of a patio
Before you grab the shovel, you should calculate your slope. Fortunately, the mathematical principle behind it is incredibly simple. To calculate the slope for your patio, you only need the planned depth of the patio (i.e., the distance from the house wall to the end of the patio) and the desired percentage.
Formula for calculating the angle of inclination and difference in elevation
While we often talk about angles, in construction practice, we work with centimeters (height difference) because this is easier to measure with a folding ruler and spirit level.
The simple formula is: Length of the deck (in cm) × (Desired slope in % ÷ 100) = Height difference (in cm)
A computational example: Your terrace extends 4 meters (400 cm) into the garden. You decide on a slope of 2 percent. Calculation: 400 cm x 0.02 = 8 cm. Therefore, the front edge of the terrace must be exactly 8 centimeters lower than the house wall.
Slope Percentage to Centimeters Conversion Table
To save you the trouble of calculating, we have compiled a practical conversion table for slope percentage to centimeters for the most common patio sizes:
| Deck depth | Slope 1.5 % (height difference) | Slope 2.0 % (height difference) | | :— | :— | :— | | 1.00 meter 1.5 cm | 2.0 cm | | 2.00 meters | 3.0 cm | 4.0 cm | | 3.00 meters 4.5 cm | 6.0 cm | | 13.12 feet | 2.4 in | 3.1 in | | 5.00 meters | 7.5 cm | 10.0 cm | | 6.00 meters 9.0 cm | 12.0 cm
Thanks to this table, you can see at a glance how many centimeters you need to go down at the edge of the terrace.
The Practice: How to Properly Install a Slope
After the theory is clear, it's time for practical implementation. Precise sub-base preparation is crucial for a long-lasting terrace.
The correct measurement
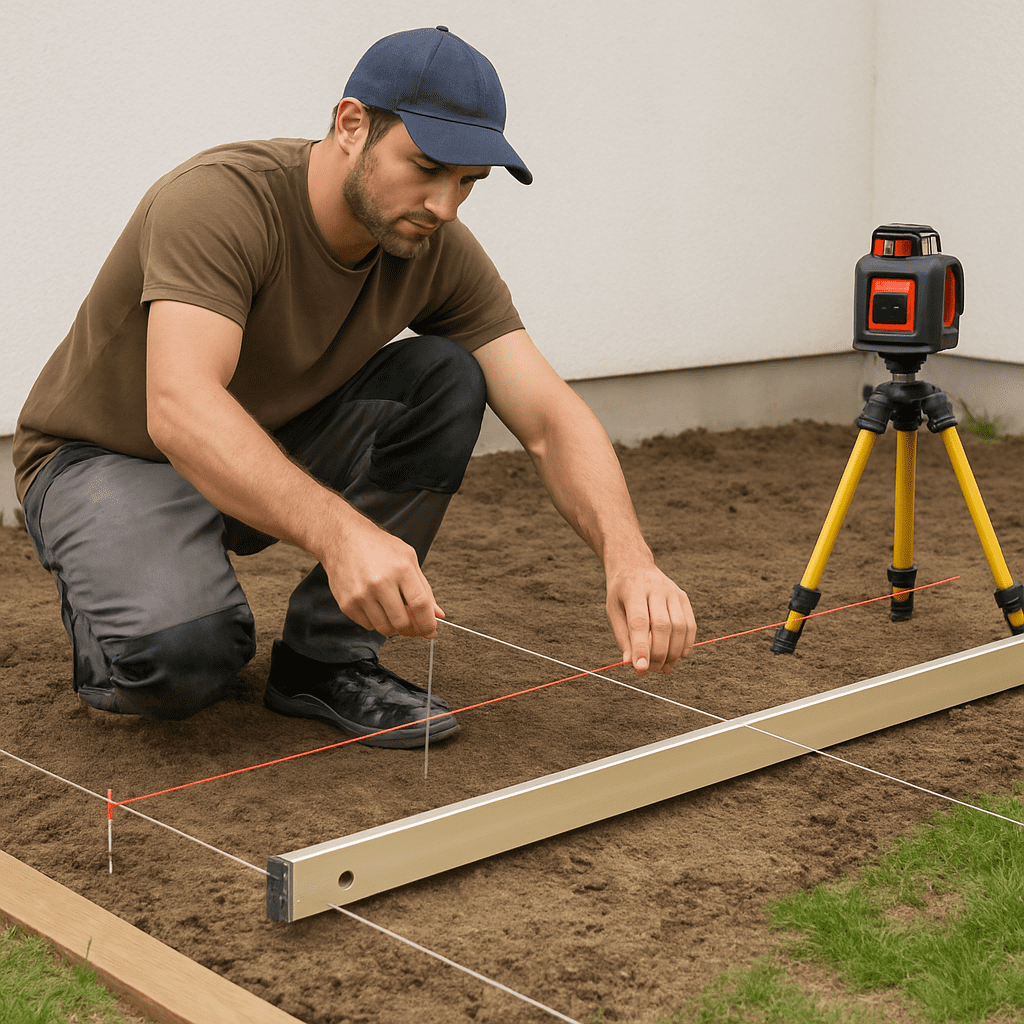
To transfer the calculated values to the construction site, you must first Stretch formwork for terrace construction.
- Drive wooden stakes into the corners of your planned deck.
- Stretch a mason's line from the house wall to the front stakes.
- First, lower the line exactly "into the water" (i.e., at a 0 % slope) to establish a zero line.
- Now, measure down the calculated height difference (e.g., 6 cm) from the front stakes and attach the string to this new marking. Now your guide strings have the exact desired slope!
To measure these heights, you can classicall How to properly use a level and a spirit level. Lay the spirit level on a long aluminum straightedge. For even greater precision—especially with very wide or irregularly shaped decks—it is recommended to use a Laser distance measurer for height differences (rotary laser or cross-line laser). One laser projects an exact line onto your stakes, making it significantly more accurate to read height differences over longer distances.
The right foundation: layer by layer
The best slope in the upper surface is of little use if the sub-base gives way or water pushes up from below. Before the actual surface is laid, you must Leveling uneven subfloors and remove the soil according to the slope.
Particularly important here is a capillary-breaking layer in the sub-base. This layer usually consists of coarse gravel or crushed stone (grain size, e.g., 16/32 mm). „Capillary breaking“ means that the voids between the stones are so large that water cannot be drawn upwards from the soil by capillary forces (like in a sponge). At the same time, this layer allows penetrating rainwater to immediately drain into the deeper soil.
Pro Tip: Keep in mind that not only the finished pavement, but also the subgrade (the compacted soil at the very bottom) and the gravel base course must be laid and compacted with the appropriate slope of 1.5 to 2%!
Different construction methods and their special features
Depending on the terrace flooring you choose, there are different approaches to creating the slope.
Sloping concrete vs. Pedestals with slope compensation
A major topic when building modern terraces with porcelain stoneware or ceramic tiles is the decision between fixed installation and raised installation.
- The classic way (sloped concrete): If you want to install tiles firmly in a mortar bed, you will need a solid subbase. This involves pouring a concrete slab or laying a thick screed—known as a sloped concrete base. This base is given a 2% slope during the screeding process. A waterproofing layer (in accordance with DIN 18531) is then applied to this concrete before the tiles are laid using frost-resistant adhesive. Water drains completely off the surface here.
- The modern alternative (pedestals): The open installation method is becoming increasingly popular. In this method, the paving slabs or the aluminum substructure of a wooden deck rest on plastic pedestals, the adjustable pedestals. The highlight: Surface water simply drains down through the open joints between the slabs. But be careful! The substrate beneath the adjustable pedestals MUST be sealed and have a slope to allow water to drain away. For aesthetic purposes, you can align the deck slabs almost completely horizontally by Bearing with inclination compensation use. These special supports have a movable head that compensates for the slope of the ground, ensuring that the walking surface remains level (although a minimal slope of 0.5% is still recommended to allow the slabs to self-clean).
Plan for additional drainage
The water now flows away from the house wall thanks to the perfect slope. But where does it go? If your terrace borders a garden with well-draining lawn, the water can usually seep away without problems.
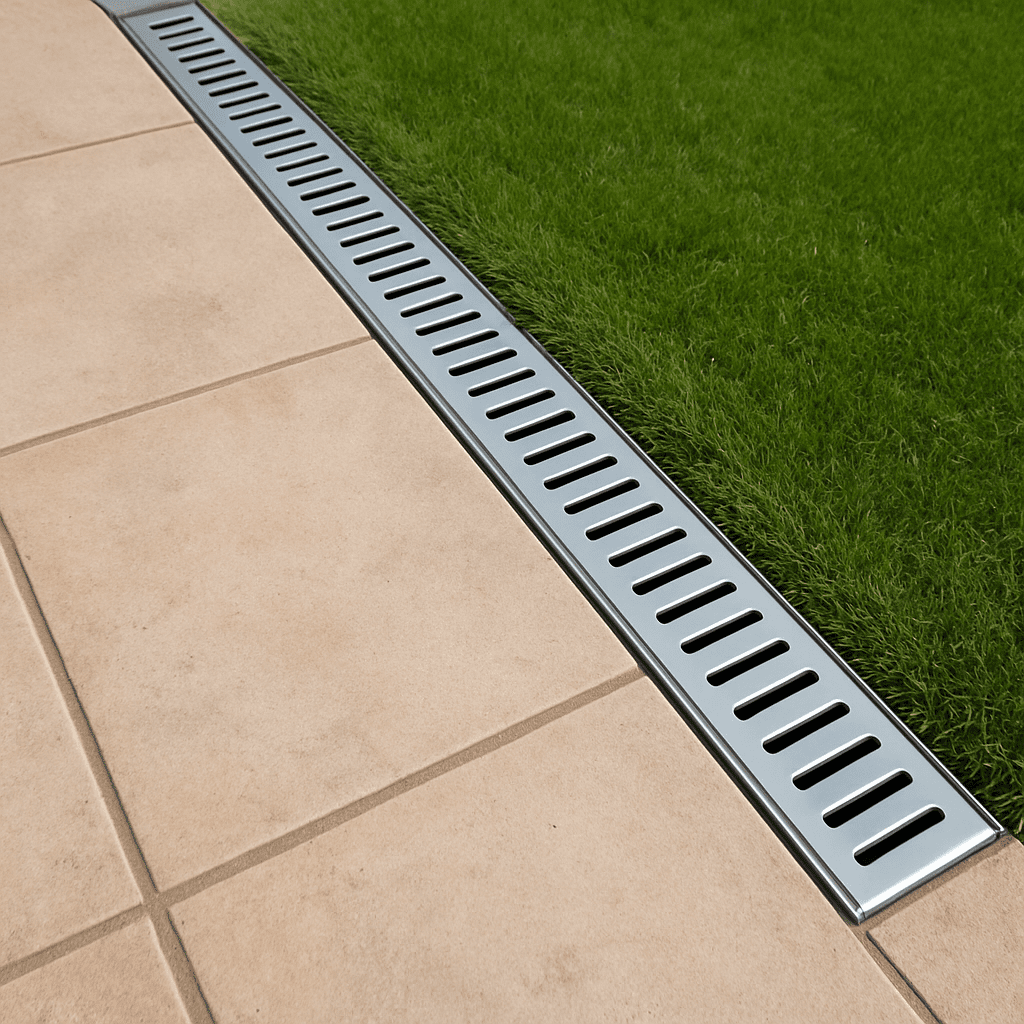
However, the terrace often borders walls, paths, or beds that cannot absorb water quickly enough, or it is structurally enclosed. In these cases, you absolutely must have a Plan a drainage channel at the edge of the patio.
Such a linear drainage system (usually a channel drain with a grating) collects the surface water running off at the lowest point of the terrace and directs it in a controlled manner into the sewer or a soakaway pit. A drainage channel is also often required directly at the house wall (for threshold-free terrace doors) to prevent moisture from being forced into the house during heavy rain or snowdrifts, even if the slope is correct.
Conclusion: Thorough planning pays off
Correctly calculating and precisely implementing the slope of a terrace is not magic, but it is an indispensable prerequisite for a long-lasting construction project. Whether it's wood, WPC, or ceramic – water must be drained quickly.
In summary, you should remember these key points:
- Always slope away from the building.
- Aim for a gradient of about 2 %.
- Calculate the percentage value in centimeters and work with a neatly strained batter board for excavation.
- Ensure that the sub-base and capillary break layer are also installed with a slope.
If you calculate the slope of your patio and follow the tips provided, you'll literally lay the foundation for many carefree years outdoors. Neither puddles, frost damage, nor slippery wood will spoil your evenings on your new favorite patio. Take enough time for measuring and compacting – it's the best investment in the durability of your garden oasis!
