
Building your own patio is a passion project for many homeowners. One of the most popular, proven, and cost-effective methods is unbound construction. In our comprehensive Laying patio slabs in gravel instructions Learn step-by-step how to master your project successfully. Whether you've chosen elegant stoneware or robust concrete pavers - with the right technique and solid preparation, your new favorite spot in the garden will be durable and beautiful.
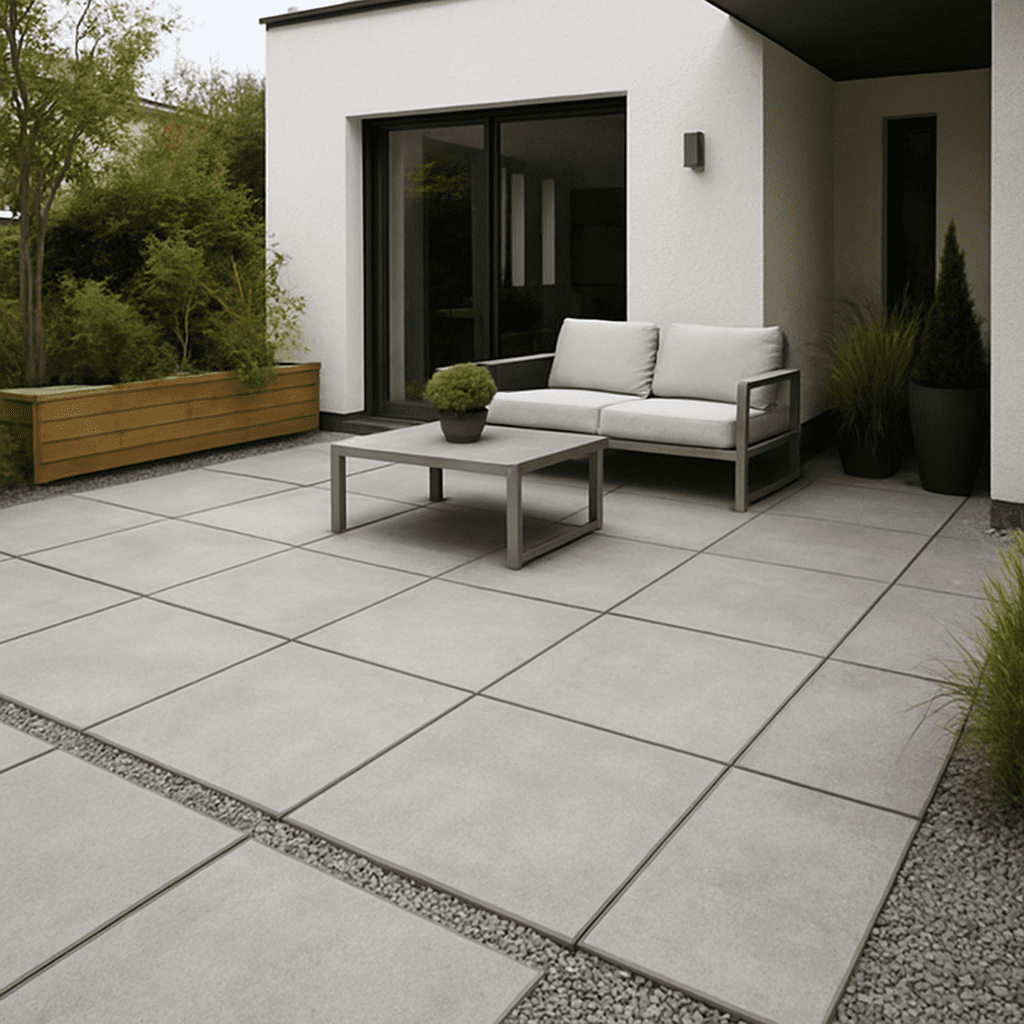
Why a split bed is worth it (and what you should consider)
If you Laying patio slabs want, you will quickly face the question of the right bedding. Who Laying patio pavers without a concrete foundation plant, offers many advantages: The water can seep away naturally, frost damage from stagnant water is avoided, and you save yourself the elaborate work with pure concrete.
However, there is Laying patio slabs on gravel: disadvantagesYes, a few: If they are laid improperly, pavers can shift more easily than on a solid concrete foundation. Additionally, the joint pattern is more maintenance-intensive, as weeds (without geotextile) could have a chance.
Let's pull the Pervious concrete vs. gravel bedding: pros and cons-Comparison shows: Drainage concrete is extremely dimensionally stable and perfect for very high loads. Gravel, on the other hand, is more flexible, forgives minor mistakes, is easier to repair, and is significantly easier for DIYers to work with.
Another common point is the Gravel or sand as bedding material comparison. Sand is cheap, but it loosens quickly, washes out in heavy rain, and often attracts ants. Gravel, on the other hand, interlocks due to its angular structure, is ant-resistant, and guarantees optimal water permeability.
The Perfect Substructure: Foundation for a Durable Terrace
Every terrace is only as good as its substructure. First, you have to excavate the soil. The slope is crucial here. When you Calculate substructure for a terrace with a slope, always plan for a 2:1 slope away from the house. This means that the ground level drops by exactly 2 centimeters for every meter of length. This prevents rainwater from running down the walls.
Frost protection layer and compaction
After the excavation comes the base course. But what do the Frost protection layer construction and thickness Ideally from? For accessible terraces, a layer of gravel 15 to 20 cm thick (grain size 0/32 or 0/45) is usually sufficient. For clayey, impermeable soils, you should go up to 30 cm.
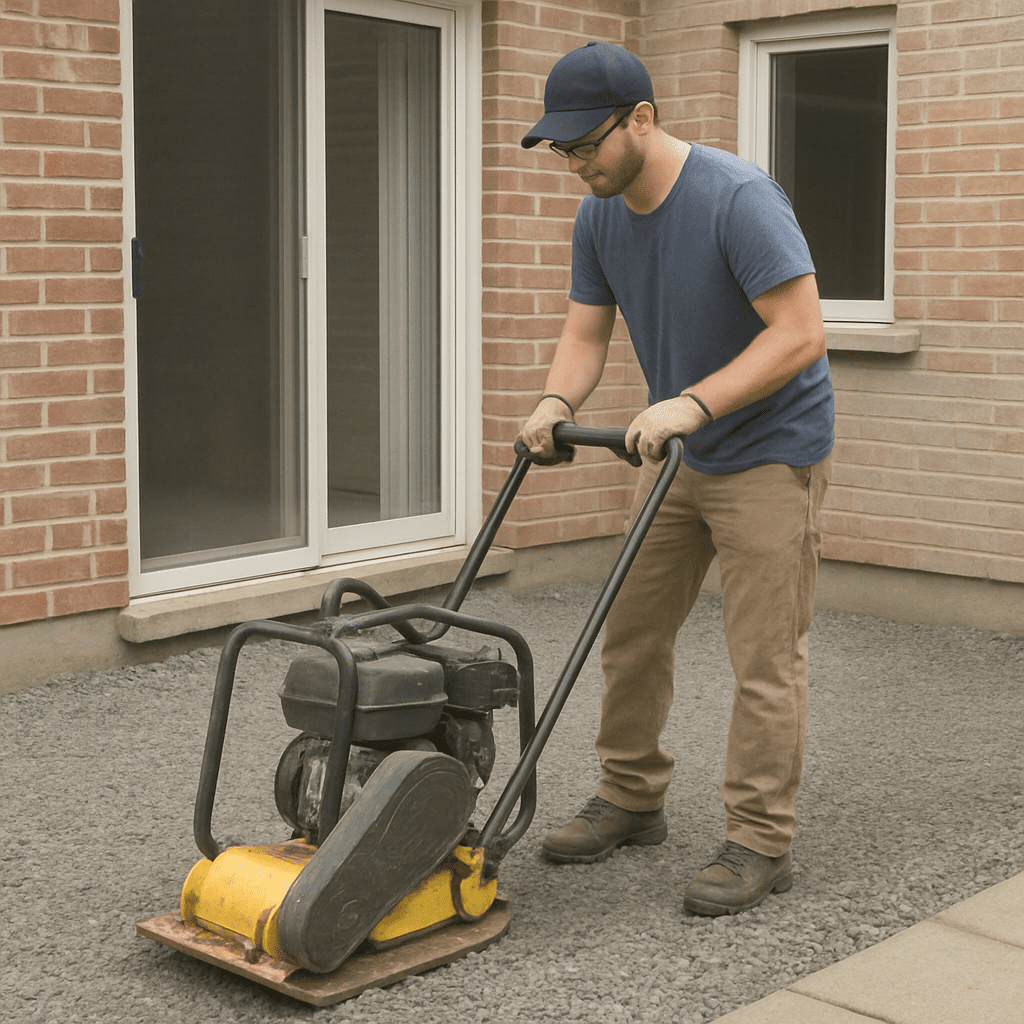
This layer must be heavily compacted. If you Vibratory plate for subgrade proper operation, always work your way from the outer edges towards the center in circular or overlapping motions. It's best to compact the gravel in layers (every 10 cm) for maximum stability.
Edging and weed control
So that the laid slabs don't slip into the lawn later, the gravel bed needs a solid frame. The classic is to use a Install terrace edging with curb stones. These are usually set in earth-moist lean concrete and provided with a back support.
If you want to completely do without cement, you can also use the Retaining wall stabilization without concrete. For this purpose, special edging profiles made of metal or high-strength plastic are suitable, which are anchored deep in the compacted gravel with long ground spikes.
Before the split follows, it is important to Laying weed fabric correctly under a gravel bed. Spread the fleece smoothly over the compacted gravel layer, ensuring a minimum overlap of 10 to 15 cm between individual sections. Gently pull the fleece edges slightly upwards. This will prevent weeds from growing up from below and stop the grit from seeping into the coarse gravel over the years.
Creating the split bed: Materials and Stripping
Now it's time for the bedding. But What split grain size for paving slabs Is the best? Edelsplitt in grain sizes 0.08-0.2 inches or 0.16-0.31 inches is recommended. It is water-permeable, dust-free, and extremely load-bearing.
To get the material in advance, you need to know, How much gravel per square meter to charge The split bedding should be about 3 to 5 cm thick when screeded. For a 4 cm thick layer, you will need approximately 0.04 cubic meters of split per square meter (equivalent to about 60 to 70 kg/m²).
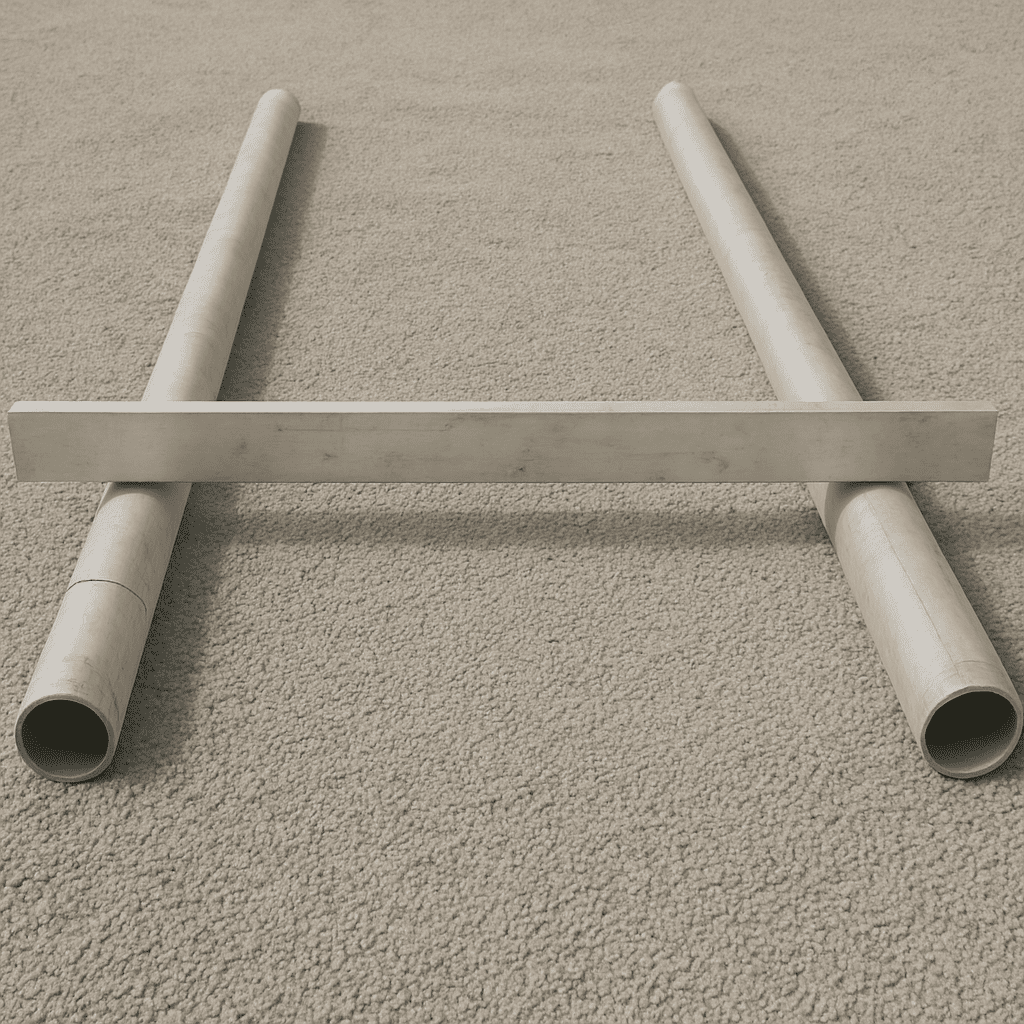
So that the plates lie absolutely flat later, you must Use screed tubes for a level surface.
- Place T-channels or simple steel pipes (with the appropriate 2:1 slope) in the gravel.
- Align the pipes precisely with a spirit level.
- Fill the area in between with gravel.
- Using an aluminum screed board, slide and remove the excess gravel over the pipes.
- Carefully remove the pipes and fill the resulting grooves with some gravel, without stepping on the surface again.
How to Lay Patio Slabs on Gravel: Step-by-Step Guide
The bed is prepared – now comes the actual centerpiece. It's best to begin laying at a right angle to the house wall (or at the highest point of the incline).
- Carefully place the records: The best way to handle the slabs is with a slab lifter, lowering them vertically from above into the gravel bed. Do not push them! Otherwise, you will damage the smooth surface.
- Maintain joint spacing: Use tile spacers (usually 3 to 5 mm). This is especially important so that the tiles do not rub against each other and chip due to temperature fluctuations.
- Align and tap in: If you are moving heavy stones, these help Leveling concrete slabs on a gravel bed tipsStretch a mason's line for alignment. Tap the panels lightly and centrally with a white rubber mallet (it won't leave dark marks).
- Make corrections: If a record is wobbly, you need to Leveling out height differences when laying tiles. Pick up the plate again and add or remove some gravel with a trowel. Never hit the edges with force.
A special note for modern ceramics: If you Laying 2 cm patio slabs on gravel, you are working with a very light material. Extreme precision is required when screeding the grit bed, as the light porcelain stoneware tiles do not press themselves into the bed with their own weight like 5 cm thick concrete slabs. Using tile spacers with a low base width provides additional stability against the thin tiles tipping.
The Perfect Finish: Filling the Gaps
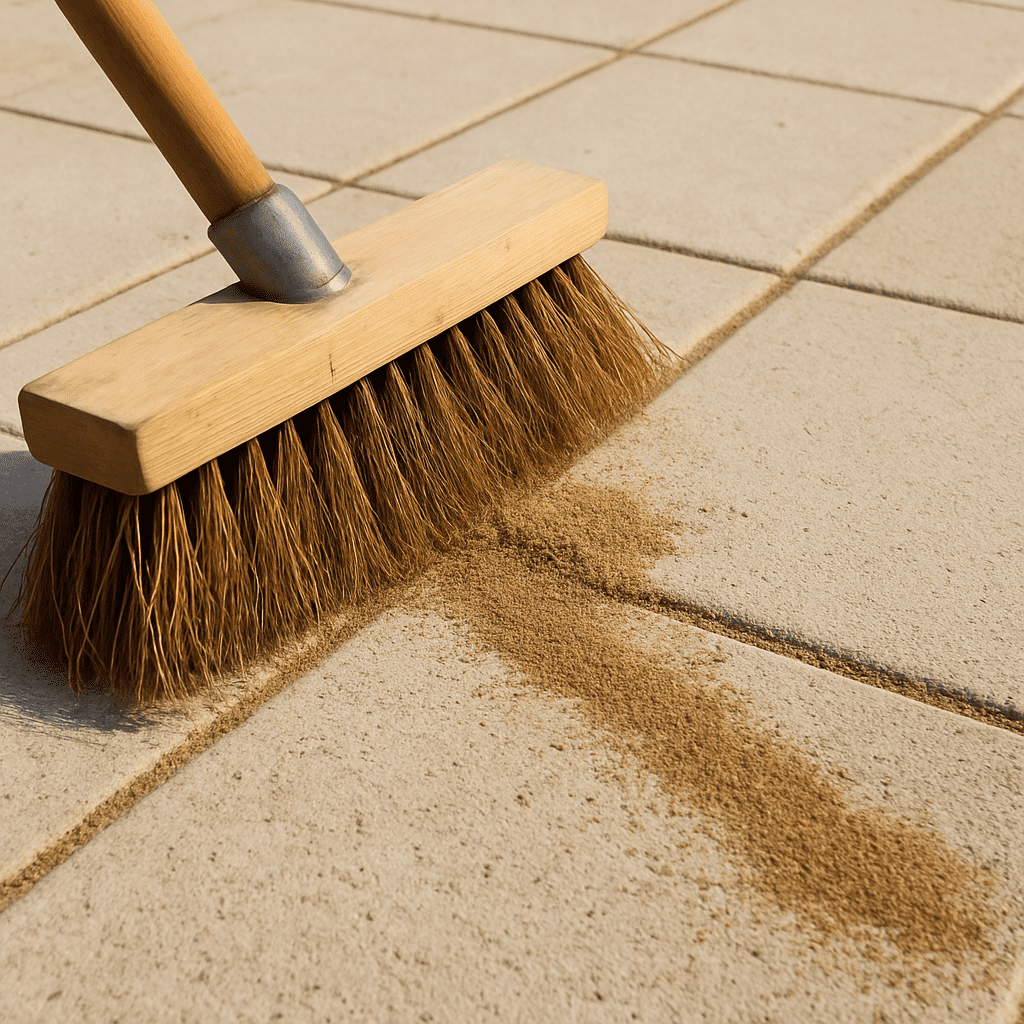
The patio slabs are laid, and the joint spacers (if they are not to remain in the sub-base) have been removed. Now the area needs to be grouted. Since your entire sub-structure is unbound and drainable, you should absolutely Water-permeable joint filler for outdoor use use.
You can use classic jointing sand, basalt flour, or special weed-inhibiting quartz sand. In dry weather, sweep the material diagonally across the joint direction with a soft broom. A very modern and low-maintenance alternative is one-component (1K) jointing mortar for unbound construction methods. It is slurried in wet, cures in the air, but remains water-permeable and reliably stops weeds and ants.
Conclusion
Our Laying patio slabs in gravel instructions With a bit of DIY skill, careful planning for drainage, and the right choice of materials, nothing stands in the way of your dream of having your own patio. If you conscientiously build the various layers – from frost-resistant gravel and weed fabric to the ideal split grain size – you will enjoy your level, durable, and low-maintenance outdoor seating area for many years to come. Get started!
