
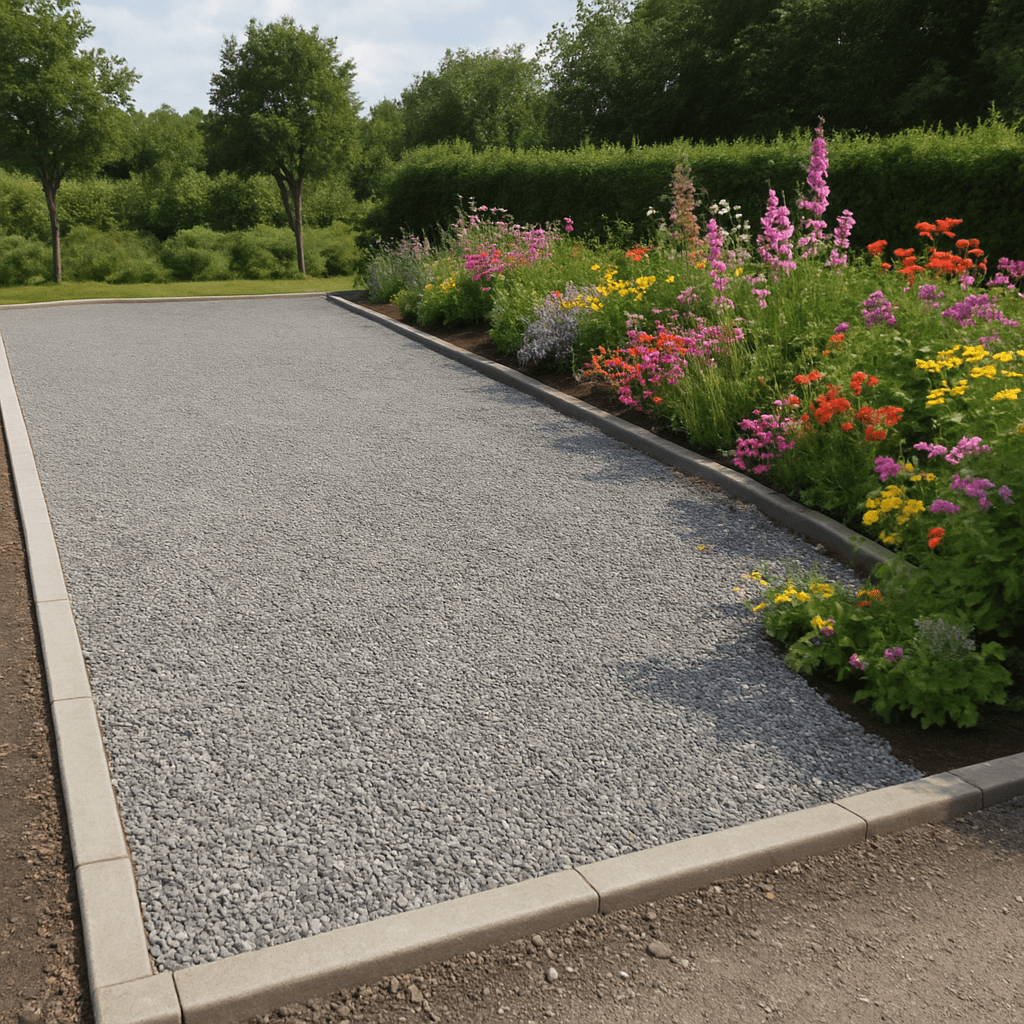
Dreaming of parking your vehicle right at your house without unnecessarily burying nature under gray concrete? A well-founded Building instructions: Gravel parking lot - Creating a parking space is exactly what you need to get started on your project. If you're building a gravel parking lot, opt for a Permeable paving for gardens, which is not only visually appealing but also environmentally friendly.
Unlike asphalt, this is a Permeable surface paving. This not only relieves the sewage system but also saves many municipalities real money on wastewater fees. In this article, you will learn step-by-step how to implement your project professionally and durably.
Before Practice: Planning and Legal Foundations
Before the excavator rolls in, you should clarify some formalities and planning details.
Building law
Many homeowners wonder: Do you need a Building permit for private parking spaceThis depends heavily on the building regulations of your respective federal state and the local development plan. However, since it is an unsealed area, such parking spaces are often permitted without a permit in many regions up to a certain size. A quick call to the responsible building authority will provide absolute certainty.
The cost question
Another important point is the budget. If you have a Gravel lawn or paving cost comparison you'll quickly realize: the gravel option is extremely easy on the wallet. High-quality paving work, including bedding sand, joint material, and extensive labor, quickly adds up to 80 to 120 euros per square meter. In contrast, creating a gravel parking lot, depending on the chosen surface material, often costs only between 30 and 50 euros per square meter.
Material Selection and Quantity Calculation
To create a truly durable gravel surface, you need the right type of rock in the appropriate quantity.
Which rock is best suited?
Often, DIYers ask themselves the question: Choose vs. Split for parking lotsThe experts' answer is clear: go for grit or gravel! Unlike rounded washed gravel, which rolls away with every tire movement, the sharp-edged stones of gravel and grit interlock. The result is a firm, load-bearing surface.
However What gravel size for car parking is ideal? For the visible top layer, a grain size of 8/11 mm or 16/32 mm has proven to be best. This stone is coarse enough not to get stuck in tire treads, but at the same time fine enough to allow for comfortable walking.
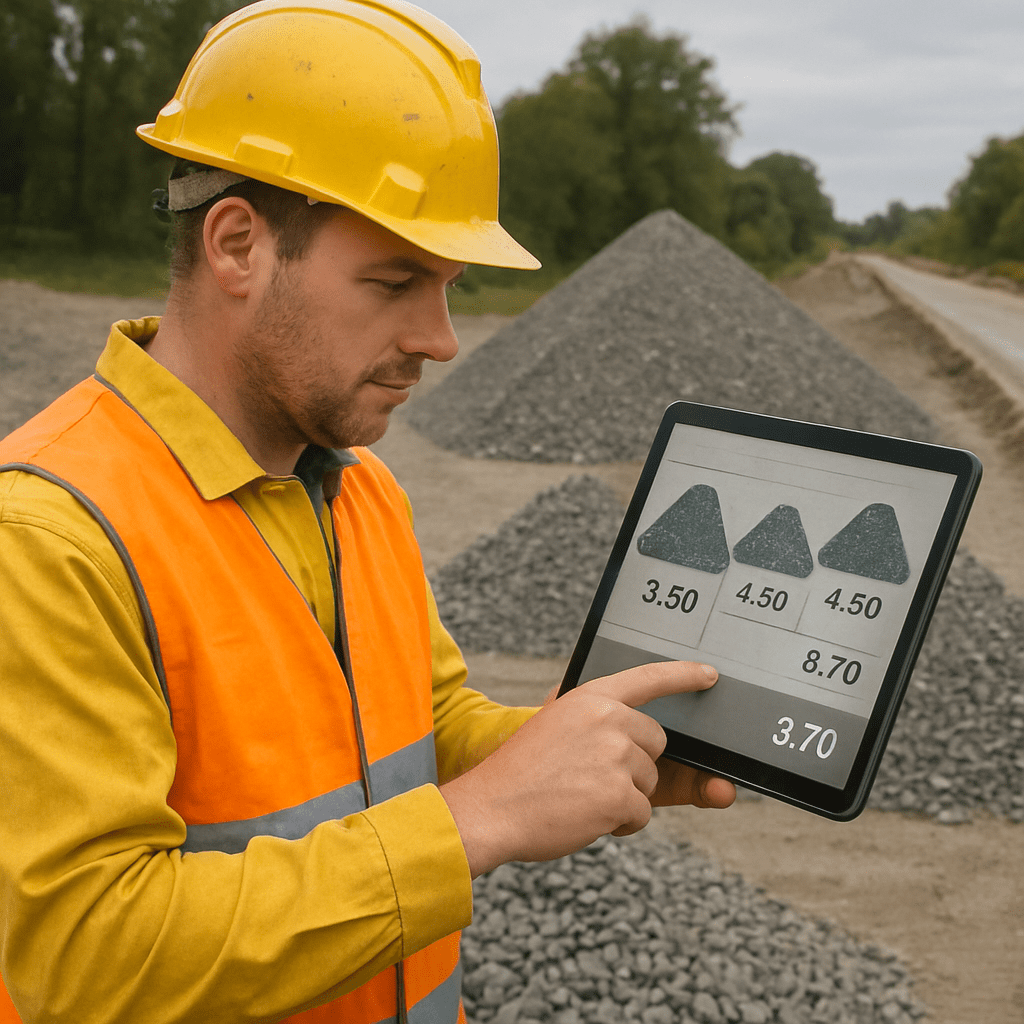
Determine the need precisely
So that you don't suddenly run out of materials while building, you must the Calculate frost protection layer material requirements. This is where a simple method can help you Bulk Material Quantity Calculation Formula:
Length (m) x Width (m) x Layer Thickness (m) x Compaction Factor (approx. 1.6 to 1.7) = Tons (t)
A small calculation example:
- Planned area: 5 m length x 3 m width = 15 m²
- Desired depth of the base layer: 0.25 m
- Calculation: 15 m² x 0.25 m x 1.6 = 6 tons of gravel mix for the sub-base.
Step-by-step instructions
Now it's time for practical implementation. With these six steps, you will successfully build your own gravel parking lot.
The excavation
The most frequently asked question at the beginning is: How deep do you have to dig for a parking lot? For a normal car parking space, an excavation depth of 30 to 40 centimeters is usually sufficient. With very clayey, poorly draining soils, you should aim for 40 to 50 centimeters.
- Tip: Mark the area with a string line and plan for a slight slope (approximately 1 to 2 percent) away from the house. This invisible slope allows you to effectively Avoid waterlogging on gravel parking lot, because heavy rain is also controlled and diverted underground or into an adjacent bed.
2. The border
To prevent the rock from breaking out or disappearing into the adjacent lawn later, a stable border is mandatory. Those who want to do it right are looking for a reliable „Setting curb stones in concrete instructions“:
- Dig a narrow trench at the edge.
- Fill in a layer of damp, lean concrete approximately 10 to 15 cm thick.
- Install concrete curb stones with a rubber mallet and align them precisely using a level (and string).
- Form the concrete retaining wall on the outer sides into a wedge shape so that the stones can withstand the pressure of car tires.
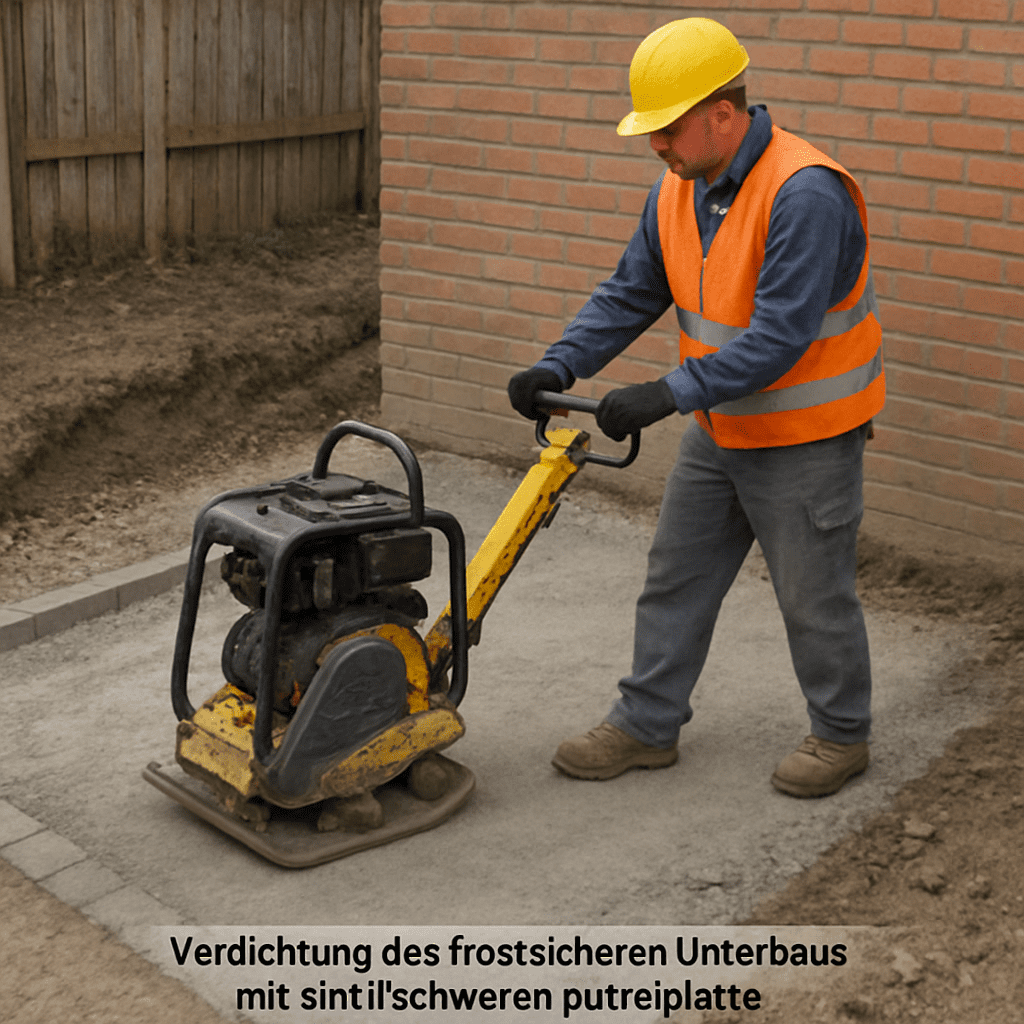
3. The substructure
The secret to a long-lasting parking lot lies invisibly beneath the surface. frost-resistant sub-base layer sequence consists of a coarse, unbound mineral mixture (often frost protection gravel with a grain size of 0/32 or 0/45). Fill the excavation with approx. 20 to 25 cm of this material.
- Important: Compact this layer in sections with a heavy vibratory plate. Without this mechanical compaction, the area will inevitably settle later under the weight of your car.
4. Weed control & layer separation
Before applying the final topcoat, you must Install geotextile to prevent weed growth (also called separation or weed fleece). It performs two extremely important tasks:
- It blocks stubborn weeds that want to grow up from the soil.
- It separates the fine decorative gravel of the top layer from the coarse sub-base, so that the layers do not mix with each other under rain load. Always overlap the fleece membranes well by 10 to 15 cm at the edges.
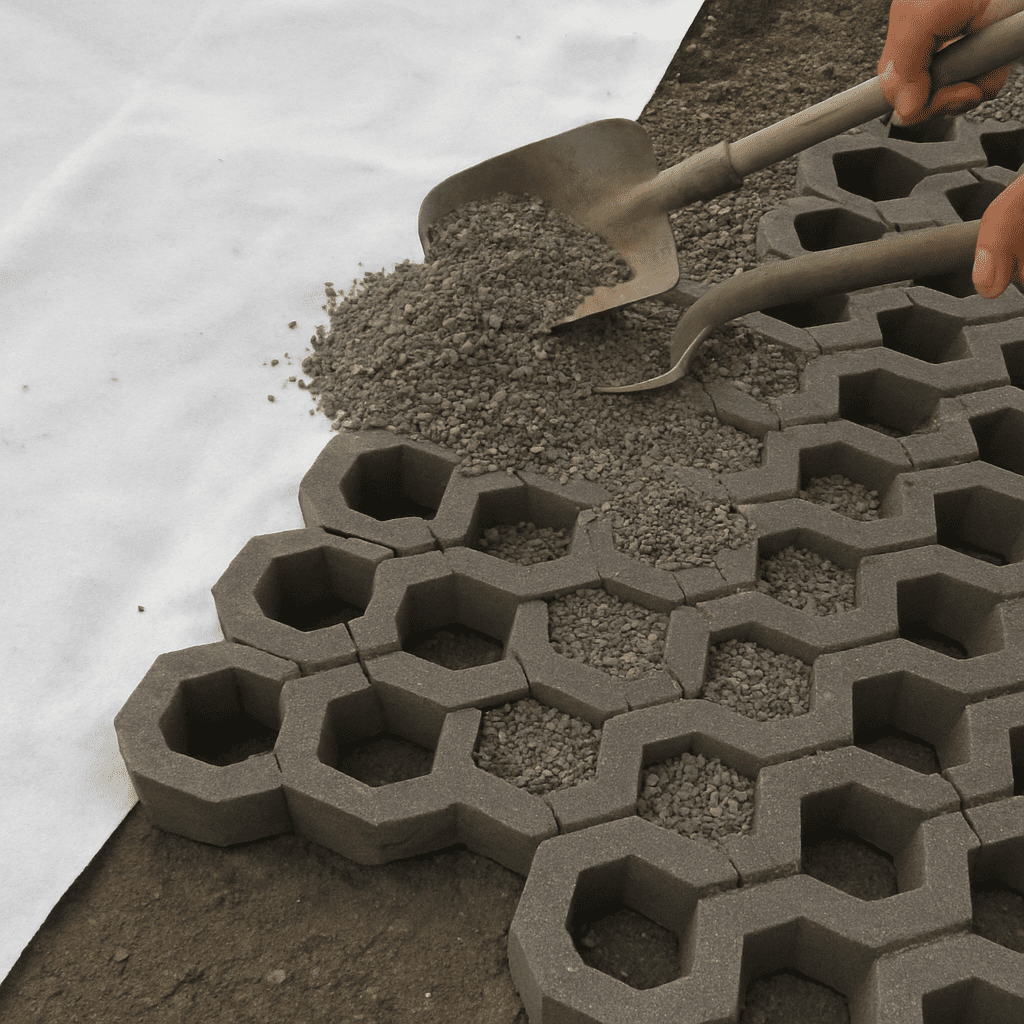
5. Stabilization (Recommended)
Whoever Stabilizing gravel driveway without sealing If you want to. It's best to use special gravel grids or ground grids made of recycled plastic. These honeycomb mats are placed directly on the laid geotextile and then filled with chippings.
The immense advantage: You can permanently have a Preventing ruts in gravel. The parking lot remains extremely dimensionally stable; cars do not slide, and it is even possible to ride bicycles or walk on it in dress shoes without any problems. In addition, the entire structure remains 100% water-permeable.
6. Apply the topcoat
In the final step, you spread the decorative gravel you've chosen. If you're using honeycombs, simply screed the gravel flush over the honeycombs (or about 1-2 cm above them). If you're not using a grid, the top layer should be a maximum of 5 to 7 cm thick. If it's thicker, the car will „float“ when maneuvering, and the rolling resistance will become unpleasantly high. Distribute the material evenly with a sturdy metal rake.
Conclusion: A long-lasting parking space with ecological added value
Creating a high-quality gravel parking space requires some upfront planning and physical effort, but it pays off for years to come. By following these construction instructions, you'll create an incredibly durable, visually appealing, and ecologically highly functional parking solution. Rain will seep into the ground where it falls, you'll relieve the sewage system, and at the same time save significantly on material costs compared to traditional paving. Grab your shovel and plate compactor – your custom-made, natural parking space awaits!